titel

This is just me, my craft ideas, and stories about my weenie dogs!! I hope you enjoy and find some inspiration!!

Wednesday, April 27, 2016

OMG GRANOLA

I started cooking recently, more so than usual, and I just wanna share my cool concoctions with my readers. I am not a perfect chef nor a perfect writer. But I love sharing what I learn with anyone who will listen. 

Here's a simple recipe that takes only 3 ingredients!!! 

I make this a lot and tonight as I chose to photo the process of being made, I got sidetracked and burned them!!! So there's no after picture. Just trust me. Even though they were burned my fiancé and I ate them all up anyway. They are that good and so healthy for a sweet treat. I don't recall seeing this on any other blog or recipe page. But I must've seen other versions or mixed several granola recipes together in my mind and threw in what I had on hand. Only 3 ingredients!!! The first time I made these it was magical!!! Not so much this time, but practice makes perfect!

OMG GRANOLA

Preheat oven to broil-about 400 or more depending on your oven.....KEEP AN EYE ON IT

1. ONE PKT INSTANT OATMEAL-maple and brown sugar
2. Nuts of your choice-I used pecans and cashews
3. Honey(I always have on hand cause I use honey in my coffee in place of sweeteners or sugar. A much healthier option and I can't tell the difference)

Just mix the honey with the oats and nuts until it starts to stick in clusters

Line a baking sheet with foil and spray with non stick spray.

Spread out the clusters and broil for 5-7 minutes or until toasty brown. 

Do not over broil! 

I think you could add coconut flakes or dried fruit to change it up a bit....maybe even some mini chocolate chips! 

I will update this when I get a better picture of the finished product.....happy healthy eating :)

I have not blogged in forever! My life has been a little bit of a roller coaster the past few years and I just can't shake the writer's block. Until now, I've been working hard at changing my direction. I've been a nurse for 14 years now and been tired of the work and odd shifts and on call for about 12 of those years so I have decided to pursue skin care. I'm officially starting esthetician school in July! I'm so excited about it. I've also changed my diet and began being very aware of GMO and un-natural food products. It goes beyond food, almost EVERYTHING is unnatural these days. Obviously no one can make those changes all at once and the Internet is flooded with information so it can be very overwhelming.

I am selling a skin care line called Neal's Yard Remedies that started in the UK. These are natural organic products that are affordable and good for your skin.

Neal’s Yard Remedies started in London, with the belief that health and beauty products should be natural and less synthetic. These products are truly outspoken. Even the packaging materials are made as eco friendly as possible. The ingredients are grown from organically certified farms, we are an active member of the Fairtrade Foundation, Soil Association and other ecological groups. 
We are proud to be the first UK retailer to be certified CarbonNeutral®. Our belief in sustainability means we use only the wild, organic, and natural ingredients nature can afford to give. We avoid polluting, toxic, or harmful substances, and we don't over-package. 
Now we are one of the top organic skincare companies in the UK, Japan and Dubai, with direct selling channels in the UK and US. 
Now is the time to get on the board with this skin care company. Say goodbye to GMO, chemicals, and unsafe ingredients. 
I found this company while looking for safe and natural skin care products. We also offer vitamin supplements, and makeup. Join us in the US!
I'm pretty pumped to be be on the ground floor of this direct sales market. Everyday I wash my face and hydrate with the Frankensence products. My face feels so fresh. The little whiteheads that used to plague me have started vanishing and my complexion is improving. I can't wait to start promoting the products. Plus, by starting my day with a facial routine, it reminds me to keep my diet and lifestyle in check. Here's the website for more info: https://us.nyrorganic.com/shop/alexisheath

Ok so I've been in and out of a few jobs, relationships, and had some major changes this past couple of years. I really do want to write about all of it now. I've found a man who I absolutely adore and he adores me and shows it. He is my best friend and he proposed in January!!! Im so lucky and excited to plan our beach wedding!!!

My craftiness has slowed down a bit but I expect that to pick back up soon. I've discovered I love cooking and gardening more than I used to, so I may write about those things!

Have a great day!!!


Wednesday, February 12, 2014

I am seeing GREEN

I had to paint my living room after this long winter which still isn't over. I needed something fresh. So here it is. Green stalk from WALMART! My friend had done this in her living room and I loved it. She has a unique style and I am learning to be less of a theme decorator and just let pieces and colors speak to me.

Before color. Deep crimson boomer sooner red.

After.....fresh green with modern looking decor 
Disregard the messy kitchen in the background and the fact that I have no living room trim. My home is a work in progress!!!

Sunday, November 10, 2013

How to remove and install vinyl tiles with crappy tools

Ok so this is seriously the emphasis of this post. Crappy tools. And cheap vinyl. This whole project all started when I found some cheap tiles at a dollar store. Oh and I bought a new tanning bed and needed somewhere to put it.  (I know tanning beds are bad before you comment). 

Taking carpet out and putting down tiles is easy. Deciding you hate them and want better ones and starting over sucks. After lots of Internet research and Facebook comments from people who actually know what they are doing I found I can pull up vinyl flooring with a putty knife and a hair dryer. They recommend a heat gun but I've already spent too much money. 

Then in the midst of this project I found a new show I'm obsessed with. Homeland.  I cannot stop watching it. Which means I can't get any work done. So I made myself a rule that I have to get 5 tiles placed and then I can watch 20 minutes of Homeland. 

Here are some pics of my project. 

I started by laying tiles at the beginning of the room. You're supposed to start in the center of the room but I didn't. I don't do things by the rules. And instead of taking it all out I took it out as I placed new ones so I didn't have to sit or crawl on a sticky floor. 
A few hours later....this is very tedious work. 
Oh yah. And I had a weenie dog supervising the whole time. Makes it a bit more time consuming when you have to stop and throw his toy every minute. 
And again a few hours later......
A little bit later.....
Still going and going and going.....

To be continued. 

Monday, October 7, 2013

Vintage Button obsession


I'm obsessed with buttons. Always have been. But for a few years I've started collecting vintage buttons. I just love digging through jars I find at yard sales and picking out the best ones. So I am finding ways to use these and be able to show off my collections. I'm a bobby pinning fool. Everyday whether my hair is in a ponytail or not I have a bobby pin in it. So I decided to decorate the pins with my favorite finds. Here is the first group I have made. There will be more button projects to come! 

Wednesday, September 25, 2013

Boomer Sooner Pumpkins!!


This was super easy! Paint and decorate. Simple. I used acrylic paint and I still need to seal them with a polyeurathane spray. In a few days I will reveal the ones my daughter is working on! 

Sunday, August 18, 2013

Church pew.

It was my prize find this summer ($40 church pew) and it has made the perfect entryway piece in my house!!! And since I am obsessed with all things British I had to get this union jack pillow to accent my sitting area. Love love love.   Now I just need to get the trim back up! I redid the floors a year ago and still haven't put the trim back up! Can you say procrastinator!?!?!?! Lol. 

Tuesday, May 7, 2013

$2 stool remade

I am short so I need stools and I found this one for $2 a while back. A little spray paint, some burlap and acrylic paint for the cross and its done. Easy and simple!!! I love making old things new and saving $$$ cause I already had the paint and burlap.

Tuesday, April 16, 2013

FREE TREES FOR PLANTING

I am completely obsessed with planting and gardening. I am in the process of getting a new privacy fence because my yard has no privacy or boundaries defined whatsoever. Anyway somehow, I have been brainstorming about outdoor spaces and I started looking into landscaping ideas. TREES, duh!!! Except they are super pricy so I want to share this cool info with my blog followers, ALL 33 of YOU!! HAHAHA.

The Arbor Tree Foundation will send you 10 trees for FREE!! yes, free. You have to join for $10.00/year but it is so worth it to get 10 free trees a year. Or $1/each if you wanna get technical. No shipping cost. A friend of mine who is super gardener says she has been doing this for years. The trees come as babies and you have to plant them in pots and keep them indoors and baby them for a year before you relocate them to the ground. This works out perfect for me cause my fence is in the works and wont be done til mid summer and I wont even know where to start planting.

ANYWAY, for those of you who are super thrifty and super green, here is the link:
http://www.arborday.org/shopping/memberships/memberships.cfm

Saturday, December 15, 2012

Ironing Board Makeover

I found a new ironing board cover the other day at TJMaxx(I love that place!) and I realized my ugly ironing board was just not going to get prettier with just a new cover.
It sits out all the time and I decided if I am doomed to have to look at it all the time why not spruce it up? So I was bored today and the weather was cooperative so I got to work on it. This could not be easier. Flat black spray paint, several coats to make it have the wrought iron look and then hammered copper spray paint just lightly sprayed and scattered. I had some trouble with the copper spray getting too heavy in spots so I just lightly sprayed the black over that and it turned out great.


Tip Junkie

Wednesday, October 3, 2012

Kitty Litter Cake

This is prolly one of the easiest yucky Halloween type foods you can make. My daughter has been serious about Halloween parties for years and a few years back I found this recipe on the Internet somewhere. I cannot remember what site it was since it was long before Pinterest. So credit is due to someone out there, not sure who?

What you need:
New cat box and scooper
German chocolate cake mix
German chocolate icing
Chocolate icing
Vanilla sandwich cookies
Tootsie rolls
Green or blue food coloring

Prepare cake as directed. Let cool. In the meantime, crush up the vanilla cookies. Set aside about 1/4 of the crushed cookies in separate plastic bag. Add food coloring. The desire is to get the clumping litter color effect.
Once cake is cooled add to the clean cat box. (always use a new box and scooper and wash it- I know this is obvious but just making sure everyone knows)
Ice cake with the German chocolate icing. Add the uncolored cookie crumbs. Add clumps of the colored cookie crumbs. Add globs of chocolate icing. Then add tootsie rolls. It's funny to twist and shape the tootsie rolls and make icing globs on the side of the box. Makes it look very realistic.

This cake is always a hit and I've even had kids who wouldn't touch it cause it looked so gross.

Happy Halloween.


Tuesday, September 18, 2012

PAINTING SHOES


I haven't been very blog savvy this week. I have cooked a few meals and just didn't have time to document them. I have been extremely busy and pre-occupied. Anyway one thing I have worked on is painting on shoes. I keep seeing people with the coolest Toms painted and I know that my inner craft goddess can do this. So I bought a pair of $5 ones from Walmart and started practicing and within a day or 2 I had 4 orders from people wanting me to paint thier shoes. So as soon I get some of these cute ones done I will definitely be posting about it.

I got to go to an OU game last weekend and a friend of mine had on these handpainted shoes. Too cute!!!
And here is the Walmart $5 shoes I practiced on. I am sure excited to actually paint on some Toms.
I found a lot of inspiration and helpful tips from this blog. http://www.coneyislandcalifornia.com/painted-toms-how-to-paint-your-own-toms-painted-vans/
 
 
God is amazing and blessing me in ways I can't even begin to describe right now. His love is just overwhelming in such a good way that I start to see everything around me differently. God Bless!!


Sunday, September 9, 2012

Blog Hits from YouTube

My blog has had 17 hits today from YouTube and 39 all this week. So I went to the site. It's a video game and it was like 14 minutes long and I didn't watch it all the way throughout. But I noticed in the jillion comments that everyone was saying "why is my blog getting hits from here?" very very strange. Sorry bout the quick and loosely edited post here. I'm on the mobile blogger app and just wanted to get that posted. Totally weird.

Wednesday, September 5, 2012

PINTEREST RECIPE OF THE WEEK #2

Ok here it is GREEK YOGURT PANCAKES!

 I found this recipe off of Pinterest and it captured my eye cause it read "4 ingredients" 
HELLO!! It has to be easy! I linked it back to the original site it was pinned from Everyday Belle blog

When I first saw these I thought, "Ok this is the most awesome idea ever." I hate eating yogurt plain and I thought if I can make it taste good then that is the best way to get my yogurt serving. Although I am sure all the sugar in the syrup cancels out the yogurt benefits lol. You could use sugar free syrup............but I didn't.

HERE IS MY VERSION


THESE WERE AWESOME! and I ate them all, it made about 4 small ones.

DIFFICULTY: EASY but................the batter is seriously thick so you have to spray your griddle or pan first and spoon the batter onto it and it will be a large blob. They won't flatten out alone so you have to brown the bottom of the blob, then flip and flatten them with a turner/spatula and then be sure to flip again and brown the outside edges of the original side that was partially browned. But otherwise it is easy.

RATING: 5/5.

WHAT I WOULD CHANGE:  I would not change a thing! They came out kinda dense, and that is okay with me cause I love them that way!


Wednesday, August 29, 2012

PINTEREST RECIPE OF THE WEEK #1

Now that I am on this money saving spree and doing it yourself spree and trying to give my daughter the "picture perfect" mother she always wanted(lol- I am far from it!!!) I have decided at least once a week I will attempt a new creative recipe from mine or my daughters Pinterest Board. I'm never going to lose any more weight since I am on this cooking spree!!!

I think I will suprise her by cooking a meal from her own "Food" ideas board. SINCE I KNOW SHE DOESN'T READ MY BLOG I think the suprise factor will be easy. The trick is going to be getting her to pin more food ideas cause right now the pickins are slim!

WEEK 1:


Found off my own Pinterest food board. "Boyfriend Cookies" from Sinful Southern Sweets, a blog I may regret having found, lol. Because all the sweets on here look unbelievable!!!


MINE LOOKED LIKE THIS:
 (note I bake in a toaster oven and it takes forever to get anything done! My oven is out of commission for now......so........hopefully I will get it fixed soon) And I cheat with foil cause I hate dishes. Wasteful I know...........
 I had so so so much dough leftover that I made balls and squished between wax paper and left instructions so I'd remember how to cook them again. I put these in the freezer and I have no idea how long they'll last in there. It won't matter because I am sure we will cook them soon enough.

DIFFICULTY: Kinda, because there is so much dry ingredients and candy going into the dough its kinda hard to mix. And not eat the candy lol.

RATING: 4/5. Tastes awesome.

WHAT I WOULD CHANGE:  I would not use as much baking soda, they came out a little cakelike to me and I prefer a more dense cookie. Also I would definitely cut the recipe in half unless I needed this much. And I would prolly use less flour because like I said I don't love the bready cakey texture. If anyone has any tips I would love to know.

UPCYCLED INSPIRATION

I'm in love with UPCYCLING things.

Actual definition of upcycle:

verb

[with object]
  • reuse (discarded objects or material) in such a way as to create a product of a higher quality or value than the original: the opportunity to upcycle trash, or turn it into new products, was vast (as adjective upcycled) upcyled furniture
My DEFINITION OF UPCYCLE: To take something junky or broken or just plain ugly and make something awesome out of it! Or to use it for a purpose it was not actually intended for. (repurposing)
So since I don't have time to actually work on every junk piece of furniture or random object I find and document it step by step(Which I have vowed to do from now on as much as I can), I am going to compile a list or gallery of things I love that I have found on the internet(which I have lots of time for)
1. I'll start with the obvious. PINTEREST! So here is the link to my Pinterest "Upcycling" Board. And yes, I pin my own stuff cause I want blog traffic!!! But most of this is awesome ideas I have slowly gathered from the most addictive website ever.
                                                                    Click here to view

2.  I have a few projects already on my blog that I have done. Here is a list of them:
       
                                                            uses for old frames
                                                                        dresser redo
                                                                      sweatshirt pillow
                                                                   changing table redo
                                                                        dog bed
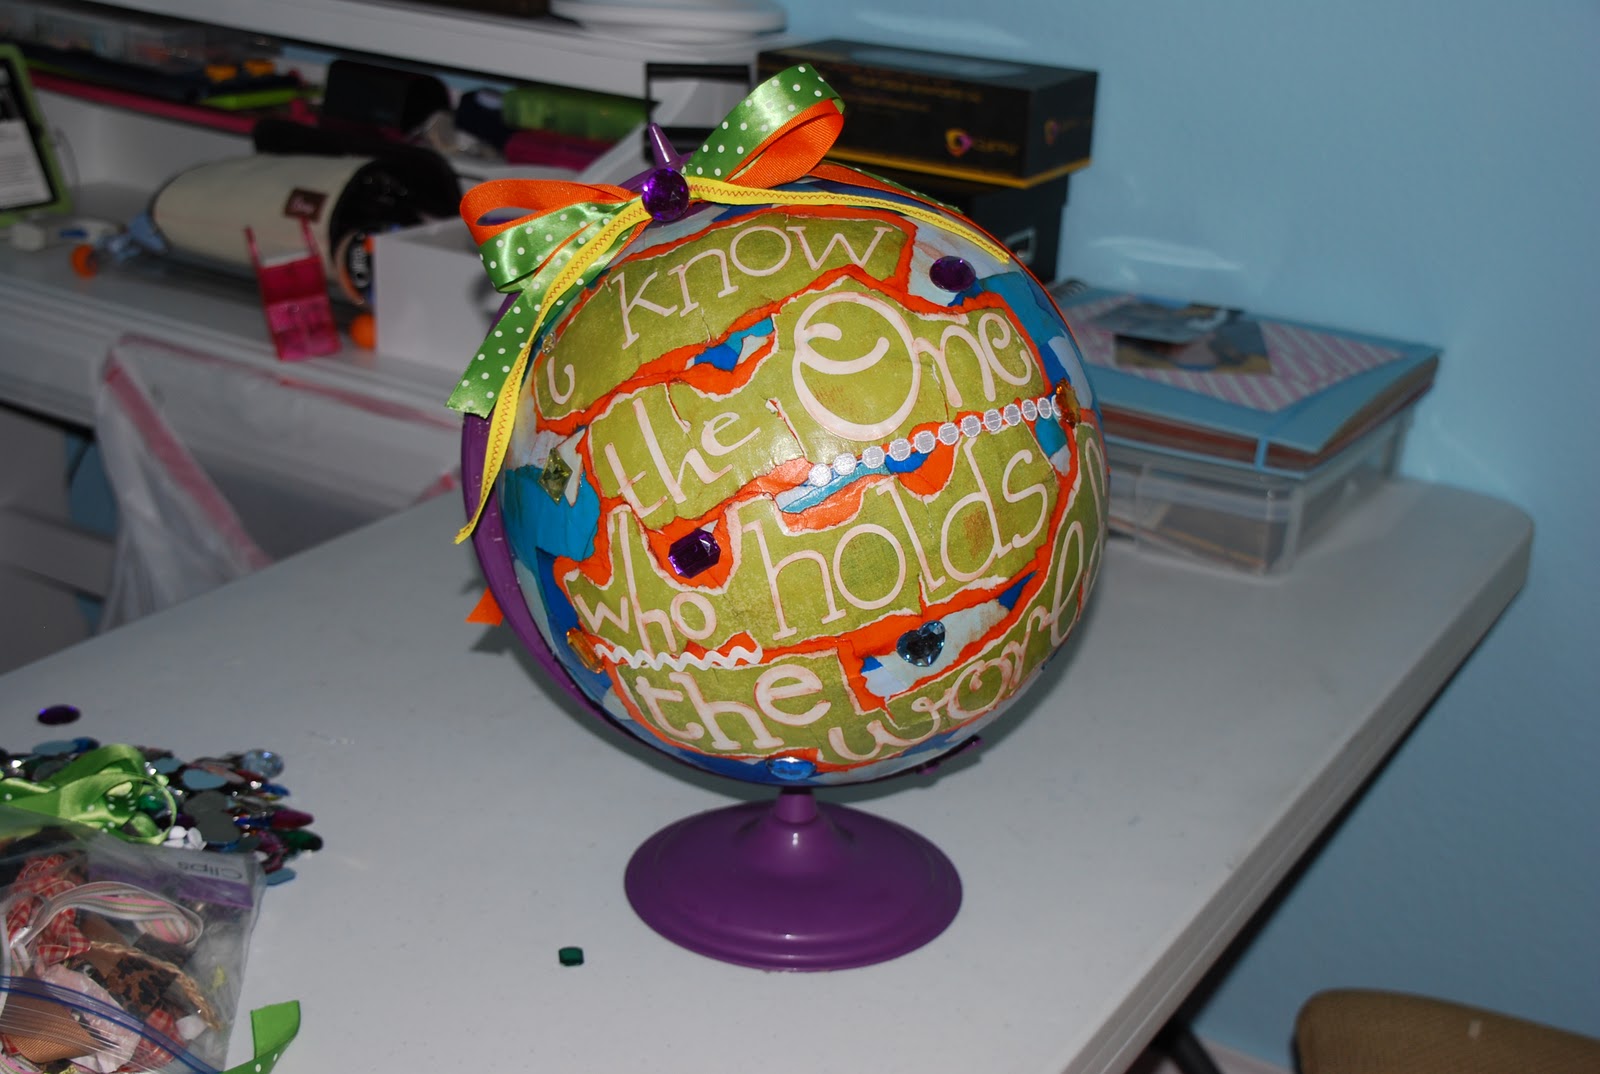
                                                    globe, gumball holder and a few others
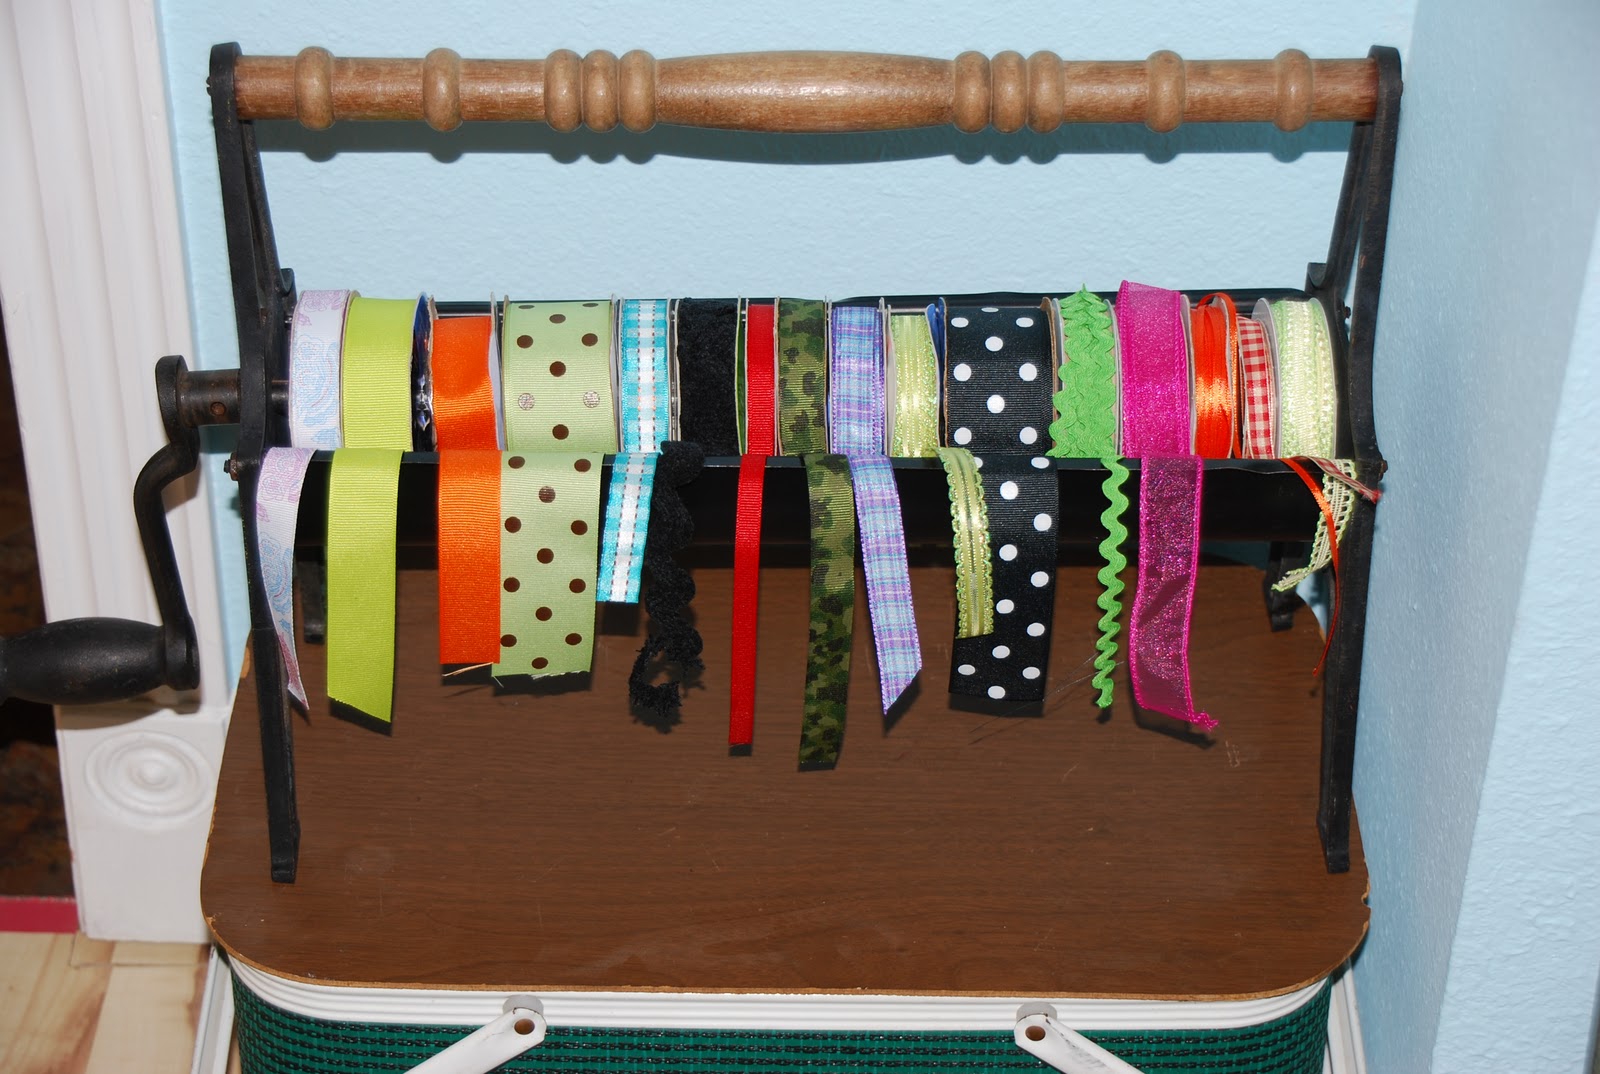
                                                            log roller to ribbon holder

3. Things off the internet that I love and credit these bloggers and crafters for making.
                       
 coffee tables as shelves from Apartment Therapy website which is loaded with awesome ideas! Check out their site and get some inspiration. I also love the purple color which would actually go great with the dog bed I made.
entertainment center for tv to kids kitchen from Sutton Grace blog. She puts a GREAT tutorial on there about how to make this project! Check it out!
jars repurposed from Creative Confetti blog. Wow this one has several awesome ideas. And I am always saving containers and not knowing why I save them so now I have some good plans to put in action.
drawer turned ottoman from Beyond the Picket Fence. I love this blog and all the great ideas.
suitcase table Another awesome project I've seen all over blogland but this one from Stars for Street Lights blog has an amazing step by step tutorial that someone put a lot of time in and did well instructing on how to make!

These are just a few of the projects I am in love with and hope to try to accomplish one day.
I hope to add more of my own or other inspirational ideas as I find them.

Thank you to all the crafty people who made these and documented the way to do them. I hope you don't mind that I had to feature your ideas on my blog so that everyone can enjoy them!!!
I don't have an "I've been featured" button from my blog but I do have a button if you wanna grab it and add to your featured section. (Those buttons are really difficult to make lol)


Wednesday, August 22, 2012

DIY SCENT SATCHELS

I was cleaning out my dresser drawers the other night I discovered an old scent satchel that had lost its power so to speak. Also it cost me about $7 for the particular brand I like. (Not saying any names here)

I had all these Downy Unstopables leftover from my laundry soap making fiasco that I had an epiphany. I can make my own satchels and they will be WAY CUTE and cost a whole lot less!!! BRILLIANT!!

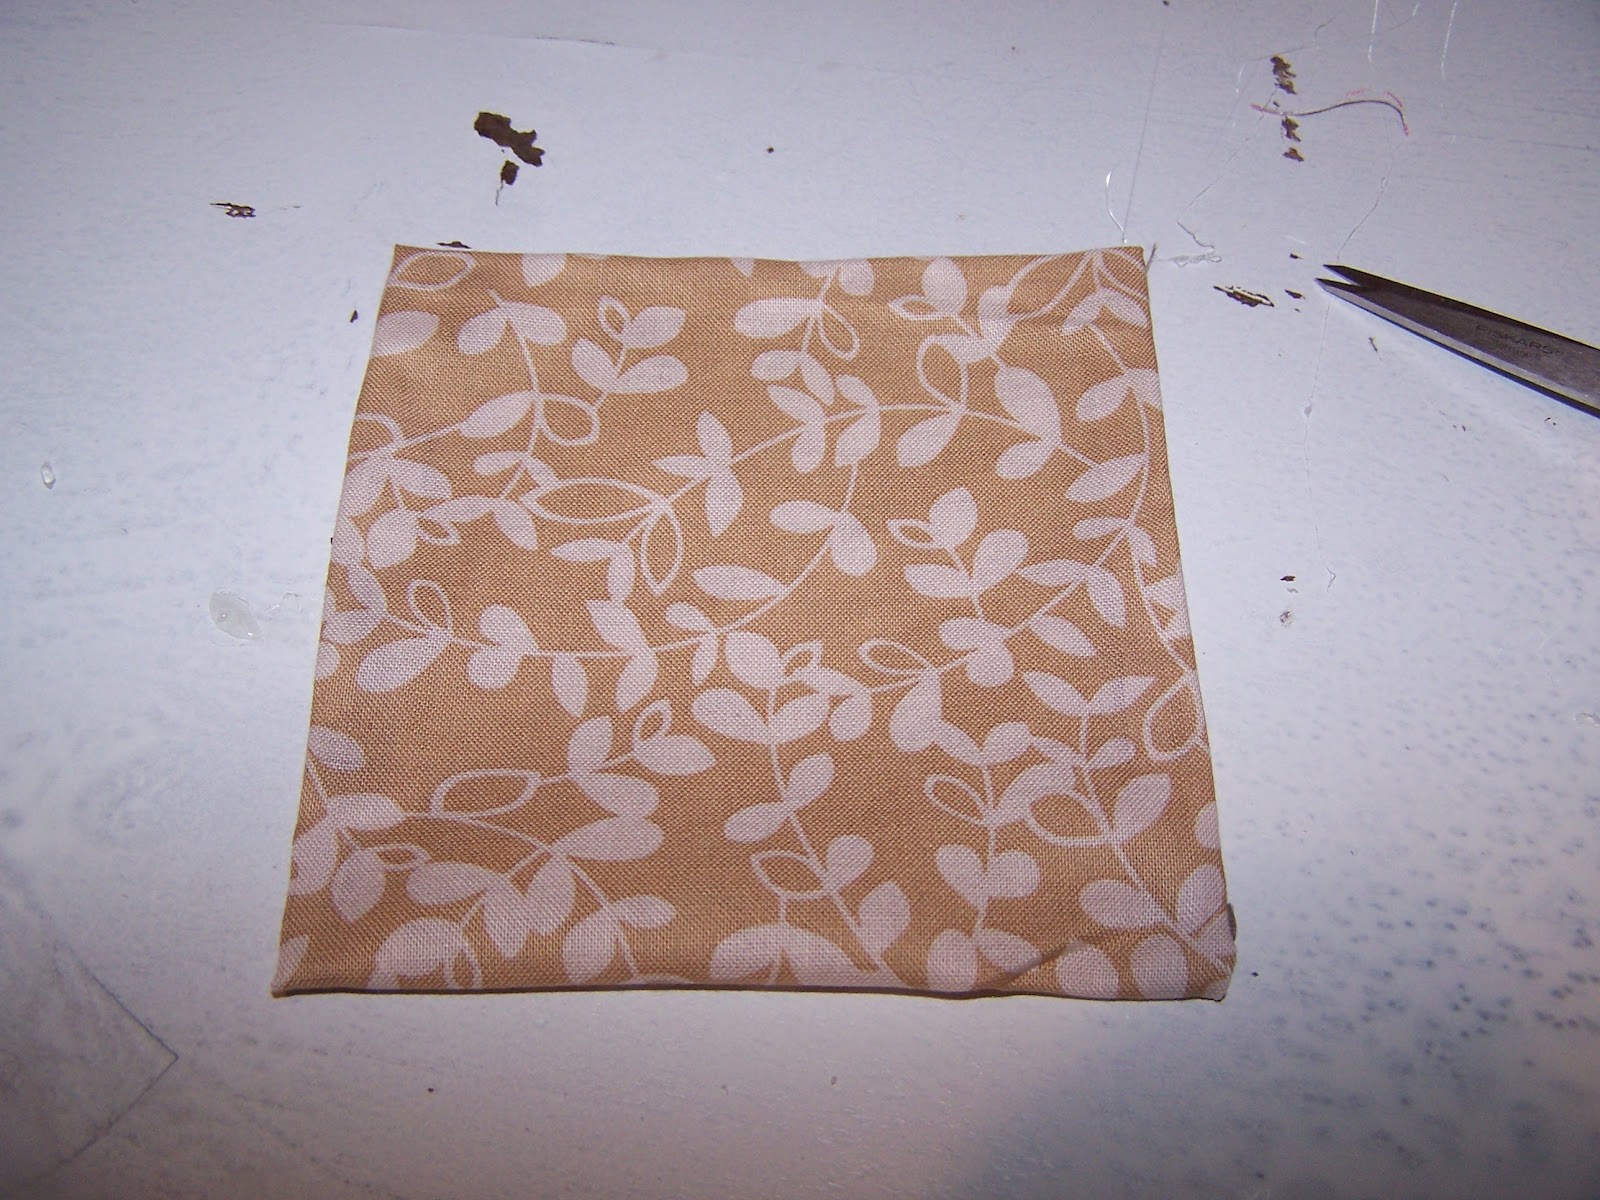
Now, I do own a sewing machine, but I am not one for acts of patience or learning new things so I just broke out "Old Trusty" (HOT GLUE GUN) and neatly glued together 3 sides of pretty fabric, added the scent pellets, and then glued the top. I made several of these.

Then I decided I could glue all 4 sides and cut slits in the top for a ribbon to tie them together so that the fabric pouch could be reused when the scent wears off. I made a bunch of these.

BEST PART! It's cheap. 

What you will need:

Either sewing machine or glue gun(your choice)
Scrap fabric
Downy Unstopables or whatever brand you have or like
Ribbon(optional)

I happened to have all this on hand so I spent zero dollars. 
This is the hot glue method. If you're sewing, you're on your own. (Maybe you can send me a link with a sewing tutorial cause I am very sewing challenged)

PLEASE USE COMMON SENSE. HOT GLUE IS HOT. DON'T LET CHILDREN DO THIS UNSUPERVISED. ALSO I WOULD NOT USE THESE POUCHES TO REPLACE THE ONES MADE FOR CHILDREN'S AREAS OR TOYS CAUSE I DO NOT KNOW THE TOXICITY OR SAFETY OF THEM. 

 Glue all 4 sides down just inside so that it looks hemmed.
 You may have to trim the corners
 Glue half way down each side and fold in half pressing down the sides.
 This part is kinda tricky. Fold over the top edge that is left open and snip about 4 holes in each side, this is for the ribbon.
 Then you can weave some ribbon thru.
 Then just pour in however many pellets you want and tie it up.
 Here is a pic of one I didn't tie at the top, just glue.
 Any of these are WAY CUTER and CHEAPER THAN the other brands that I won't speak of and the scent is very powerful.


It was a fun, crafty, and good smelling project. And I am sure I could actually sew some bags that could be re-used and I will attempt this in the future.

Also I think these would be great little gifts. 

And here is a picture of Hershey begging me to throw his rock(he's obsessed with rocks) while I was working on writing this post.
I am having some serious difficulty linking the "Pin It" button. SO PLEASE FEEL FREE TO PIN THIS CAUSE WHO DOESN'T LOVE BLOG TRAFFIC??? Happy Crafting!!

IMPORTANT UPDATE. I put one of these in my daughters car and the heat melted it and made a huge mess!!! Don't do that! I guess I didn't really think since they melt in the washer that obviously heat would melt them too.

I am linking this post up at:

http://www.thethriftyhome.com


http://www.theshabbycreekcottage.com/2012/08/transformation-thursday-no-166.html
http://www.momnivores-dilemma.com/2012/08/creative-juice-thursday-features-link-up_22.html
Beyond The Picket Fence
making monday marvelous linky party Keeping It Simple

http://www.skiptomylou.org/2012/08/27/made-by-you-monday-116/
http://weliketolearnaswego.blogspot.com/2012/08/what-i-learned-wednesday-22.html